I have finally received my Steam Deck, I was fortunate enough to get an early Q2 slot, shipping took about 3 days from the Netherlands, delayed somewhat by the Easter weekend, but eventually it turned up.
It was shipped in a brown cardboard box by GLS and Parcel Force, the box is marked with the companion cube and deck logo, among other identifying info (perfect for thieves), inside is the deck in the case as well as the charger and USB cable, setting it up was quick and easy, although I had to change my password to something shorter since I usually use a password manager with a very long password.
The deck interface is easy to use and largely self explanatory, there is a short usage tutorial and the Aperture Desk Job game designed for the deck provides some additional info so I recommend playing it, it can be finished in 45 minutes or so.
Design and Build Quality
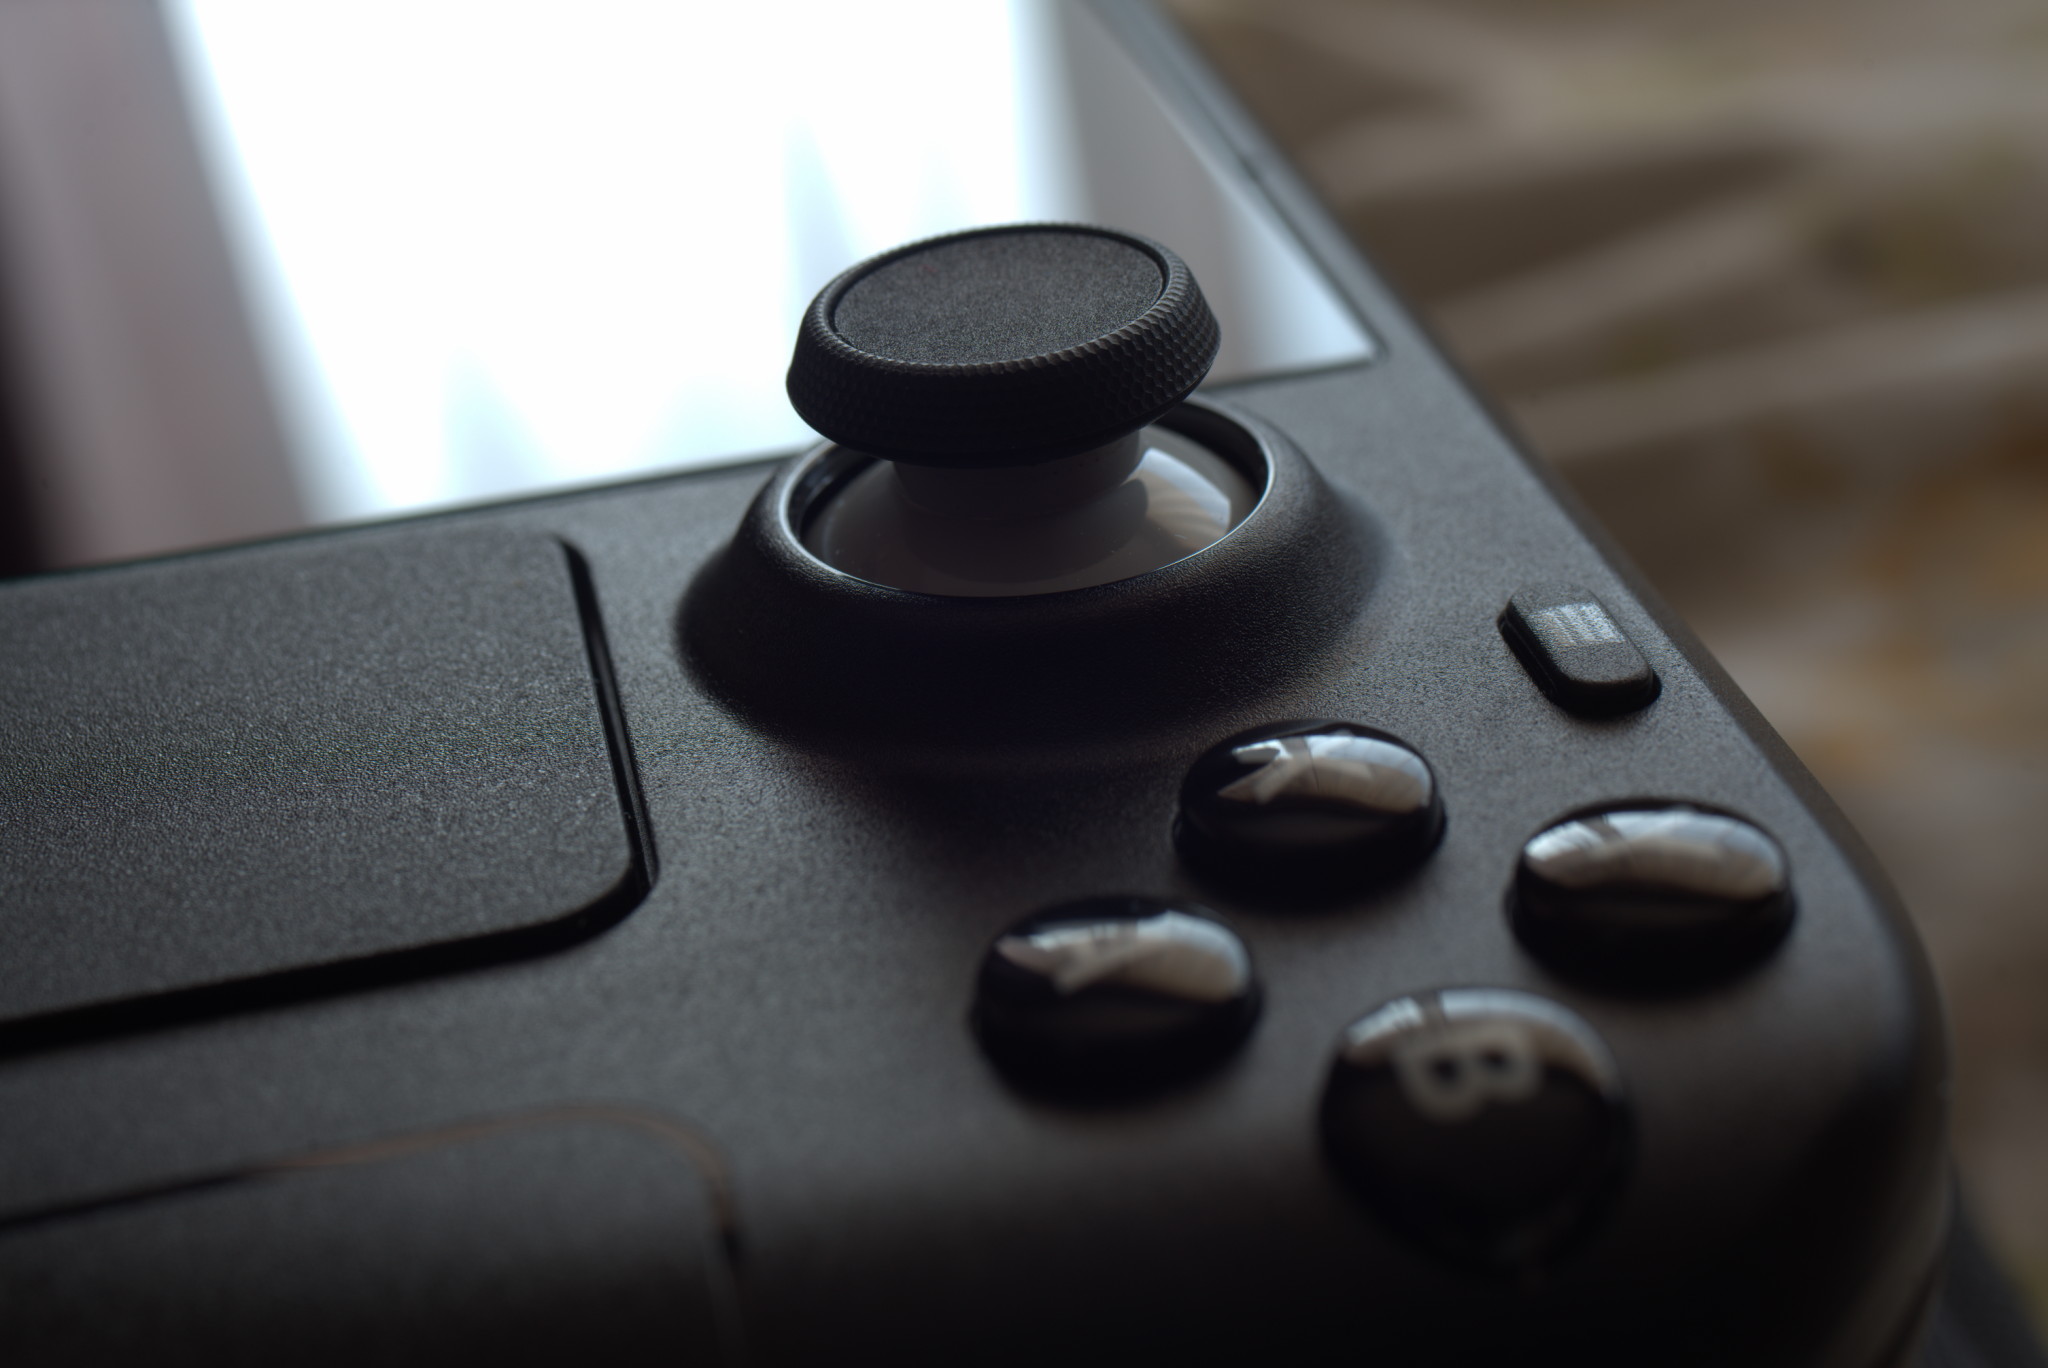
The deck as you would expect of a company like Valve is of a high build quality, the plastic case feels solid and strong, there is a good weight to it but it’s not excessive and should be comfortable for most people, the location of the controls for me is quite comfortable although as a PC gamer it’s taking time for me to get used to them, the bottom buttons are a tad tricky to use so I mainly use them for controls that are not often required, the touchscreen works fine although I largely don’t use it.
The sound quality is very good for such small speakers and there is a good range of volume from very quiet to acceptably loud, although in a very quiet environment you may want to use headphones, the fan noise is moderately loud but not offensive, there have been a lot of complaints which may indicate some bad fans or just variation in tolerance for the relatively high pitch noise it produces.
Thermals are quite good, it gets a little warm around the vents, particularly the top exhaust vent but nothing serious, during heavy usage CPU and GPU temperature is in the 72-75c region with peaks into the 80’s, perfectly acceptable.
Haptic feedback is somewhat of a gimmick in my opinion, it works but it isn’t amazing by any means, fortunately it’s not really required for use, you can turn it off if desired.
The trackpads are quite accurate and usable, I never got to experience the steam controllers but these seem to do a good job in most situations.
Hardware
Rather than go in to a full list of specifications, which you can look up for yourself, I will just say that for a portable PC gaming device, the Steam deck is the best on the market at the moment, at least in terms of value for money, numerous benchmarks have shown that it can obtain a locked 60 FPS in a wide variety of modern games thanks to the AMD RDNA 2 APU, and is even capable of respectable ray tracing performance in some games, granted this is at the native 800p and with upscaling if you want ray tracing, nevertheless it is exceptionally good for the power it consumes.
The biggest advantage of the deck is it does not limit what you can do with it, it has a regular x86_64 CPU so it’s not limited in software like ARM processors are, in many ways you can consider this to be a highly efficient and portable laptop which gives it great flexibility.
Some people have criticized the display quality saying it should be an OLED panel like the latest version of the Nintendo Switch, I firmly disagree with this, the screen quality and resolution is more than adequate for portable gaming, would I like better, sure!, but not at the added expense and performance penalty for higher resolutions.
Steam will be providing replacement parts at some point through iFixit which will be a nice addition in an age where most products are essentially disposable, hopefully reasonably priced, I also have no doubt that there will be third party hardware as well, clamshell cases, docks, screen protectors and more stuff has already started to appear.
Steam have also been doing an decent job when it comes to RMA for various problems, as typical with Valve however you can expect a general lack of communication and significant delays at the moment, not terribly surprising as there have been numerous launch problems.
Deck Versions
One big choice when ordering the deck is what version to buy, for most of us it’s too late to change that decision, but for those who have not yet reserved this is for you.
It has already been shown that the storage can easily be upgraded, certainly if you’ve ever added parts to a PC you should have no trouble doing so with the deck, which makes the added storage options much less attractive, you can save a very significant amount of money by doing it yourself.
There has been debate over the value of the etched anti-reflection coating available on the top tier version, the general consensus seems to be that it’s only of particular use if you game in brightly lit environments on a regular basis, even then many darker games are still unplayable, one very big negative is you should not use screen protectors with the etched glass as it may damage it and negates the effect, for me this is a complete deal breaker as I want the extra protection of a screen protector, although so far no one has complained of scratches.
The rest of the steam bonuses are certainly not worth the money and the high tier case is near enough identical, in fact I prefer having the black interior, so unless you lack the skill or desire to open your deck, I can only really recommend the 64GB version.
Storage
For those worried about storage the MicroSD card interface is sufficiently fast enough for near enough all games, it can operate up to UHS-I speed which is roughly 100MB\s, cards do vary a lot in performance though so you’ll want to look for a card with a V30 or higher marking on it, A2 is also preferable over A1, very fast cards are generally not available in large capacity so don’t bother looking for them.
The Samsung EVO Select 512GB MicroSDXC for example I would consider a good choice and is available for around £60, 1TB cards have a very substantial markup so I would avoid them.
Although Valve say you can hot-swap cards my experience has shown that this is not the case, a card should always be unmounted before being removed to avoid potential corruption, a lot of people have also reported their card being permanently bricked if they format twice in the deck, as such I recommend formatting be done outside the deck.
Steam OS 3.0
Steam OS 3.0 is the latest iteration, unlike the previous versions which were based on the Debian Linux distribution, the new one is based on Arch Linux, practically this means packages are more up to date, although it should be emphasized this is not a rolling release, updates are released by Valve on a fairly regular basis at the moment but in future I hope for better support for using any Linux distribution.
The system is by default read only, which means you can’t install your own packages via the pacman package manager, you can disable this easily but there is a risk any changes would be removed or broken when you update the system, instead flatpack packages are used for installing third party software which works well enough.
Most people are going to spend the majority of their time in the new Steam interface which is essentially a replacement for the big picture mode, this is fairly well designed although is lacking some things such as a well integrated web browser, I have no doubt that this will continue to see improvement over time.
A desktop mode is also provided which gives you a KDE Plasma desktop, I’ve had mixed results with this, with occasional bugs particularly when running a desktop application in steam, the choice of default applications is also a bit weird, most people don’t want to use vim as their main text editor.
The quick access menu allows you to easily access notifications, chat, settings, performance and help, the performance settings are particularly good with an adjustable MangoHud overlay to see what you’re currently getting, control of TDP limit, GPU clock, scaling including AMD FSR, FPS limit and information on the battery.
Battery Life
How long the battery lasts very much depends on what kind of game you are playing, naturally the more intensive the game is the less life you will get, the deck provides a great deal of tuning options so you can optimize for battery life, or performance as you desire, unfortunately there is no way to create per game profiles at the moment, but this should come in future.
Most people can expect 2-4 hours of higher end gaming, with up to 8 hours for lighter games, in many ways that’s better than your average laptop.
There has been some question over battery longevity, lithium-ion batteries do degrade over time and with each charge cycle, however I do not expect this to require replacement for at least two to five years depending on how heavily you use it, it remains to be seen how Valve will address battery replacement.
Game Compatibility
The game compatibility of the deck as it stands with Steam OS is somewhat mixed, most games will at least run, however a number will not, particularly if they implement anti-cheat technology, work is being done to improve compatibility with anti-cheat but this often requires the developer to enable support, some developers have shown a complete disregard for deck and Linux users so 100% compatibility is likely never going to happen.
Windows drivers are not quite complete yet but in future it will be a viable option, although you do lose certain functionality such as the quick suspend / resume and the interface, although I suspect the interface will be available in Windows at some point.
For me personally though I have zero interest in Windows, Linux game compatibility is continuously improving and native Linux support is slowly growing as well, plus you have access to a large variety of emulators so you will always be able to find something to play.
Input Mapping
Most of the more popular games already have input profiles setup, or someone else has already made one for you, however if not or you want to customize you’ll need to make your own profile.
This is fortunately quite easy with a number of templates available for you to look at, I’ve not gone in to great depth with this but looking at what some people have made it’s very impressive.
Security
Somewhat unexpectedly the deck has no security options, so if someone uses it they have full access to your steam account, and any desktop stuff you’ve added, this is a huge oversight by Valve but I suspect it’s simply due to them wanting to quickly get it out to gamers, although considering they also advertise it as a Linux desktop this is not very good.
I certainly would not be comfortable taking it out in a public space, these are asking to be stolen with the huge demand currently, there is also no place for a security lock to be added on the deck.
Usage as a full desktop
The desktop mode is very versatile so with suitable peripherals you can essentially turn it into a full desktop, there are however some caveats to this currently, there is no official dock yet with it slated for being released some time this summer, some people have also experience serious problems with charging when using a USB hub.
The monitor you use also has a big impact on performance, a 1080p monitor will work very well for gaming, anything higher and you are going to get degraded performance, although you can still manage lighter games and video even at 4k.
It’s also perfectly viable to use for work as well, writing, image editing, browsing, light video editing, streaming and more is just fine on the deck, although you do then have to ask yourself, why not use a PC instead?, it could however be useful for those with a weak PC given the current GPU shortage which shows no signs of resolving until next year at least.
Overall Verdict
The Steam deck is a fantastic device if you’re already a PC gamer, if however you’re more of a console gamer or just a casual gamer who wants a very simple experience with no risk of issues, the deck is probably not for you, for those of us who like to tinker with our software and hardware the deck is indisputably the best device currently available.
It will certainly be interesting to see where Valve and other companies go in future as this is a major leap forward in the realm of affordable portable gaming, and Linux gaming.
Overall I’m very happy with the Steam Deck, it’s a perfect device for me when it comes to gaming away from the PC, while it’s far from perfect I’m confident that with Valve and the rapidly growing community the deck will improve greatly with time.
Review Update
Within a week of publishing this review Valve have already released two excellent updates that have addressed some of my main issues, it now has a proper lock screen to provide some security, keyboard localisation (unfortunately missing the UK still) and on the beta branch adjustable screen refresh rate, it’s pretty clear that Valve are working hard to make the Steam Deck the best portable gaming platform ever.